Stitched Cross Stitch Ornament using a Bottle Cap
Padded bottle cap finishing technique
Contents
Introduction
This the third installment in our series on stitched Christmas tree ornaments. This particular post is a tutorial for an ornament finished with padding using a wrapped bottle cap as the backing. As always these are Christmas-themed items but the finishing techniques can applied to any other projects as well.
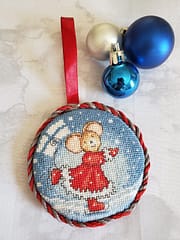
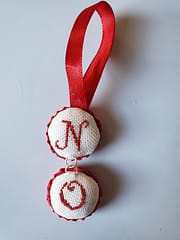
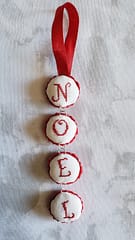
The completed piece that we’re going to make:

Supplies
Here’s what you’re going to need for this project:

- Stitched design
- Cardboard
- Glue
- Ribbon
- Backing fabric
- Quilt batting
- Sewing thread
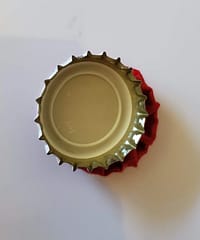
- Bottle Caps
- Seed beads - optional
- Jump rings
- Pliers
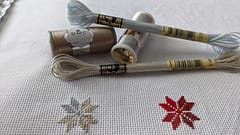
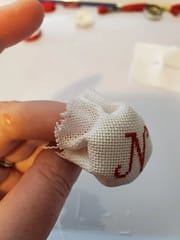
I used 28 count fabric stitch the letters as I needed the design to fit into the small area of the bottle cap.
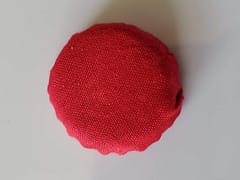
Start by covering the bottle cap using cotton to create a drawstring to pull the fabric around the cap
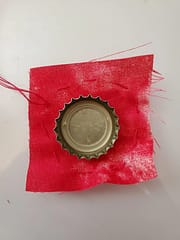
Put some glue on the inside of the cap around the edge to secure the fabric to the cap, I used another cap to push the fabric into the ridges.
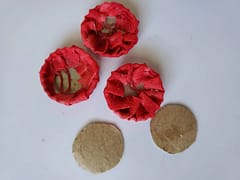
Cut out a small circle of cardboard that will fit inside the cap
Stuff some quilt batting into the cap to gauge how much you need
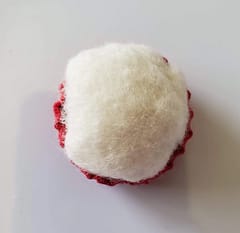
Put glue on the cardboard and stick your ball of quilt batting to the cardboard, keeping the top smooth, I used a toothpick to tuck the edges in and applied glue all around the edge.

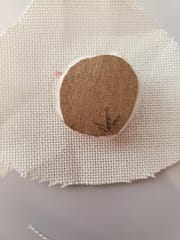
Cut around your stitched design, when doing this the circle you cut should be quite generous as the 28 count fabric frayed alot, if you cut it to tightly it could fray enough to show on the front.
Line up your padded circle on the back of the stitched piece ensuring the design is centred.
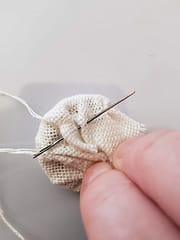
Stitch around and again use the cotton as a drawstring
Sew around the circle on the back to secure your fabric, and trim off the excess fabric
Apply glue to the inside of the bottlecap and also on the back of the fabric of your padded piece. Push the padded piece into the bottle cap and let the glue dry.
Note: Cut a small piece of ribbon and add it under the padded front as you do the step above to act as the hanger on whichever piece is going to be your top one.
Using your pliers open a jump ring and push it through the fabric at the bottom of your first piece, close the ring and rotate until the join section is inside the padded piece.
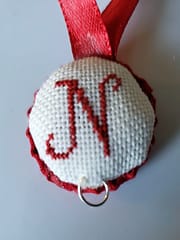
Continue adding jump rings to your pieces connecting them as you go until your ornament is complete.
An option for an additional embellishment would be to add beads around the edges for an extra sparkly touch.
You can make any message you want or could have letters to spell the names of children or grandchildren, maybe making it a game to find them and decorate the tree.
Hope you found this useful, as always be sure to like and follow us on our Thread-Bare Stitching Facebook Page or check out our links page for a full list of all of our social media channels and services Thread-Bare Links