Loop Start - Tutorial
An alternative way to begin your stitches
Contents
Introduction
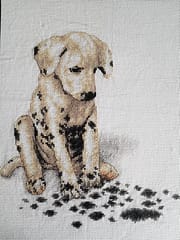
Most people learn to start stitching by anchoring and burying the tail of the thread under the stitches as they go, the loop start is an alternative way to secure your floss as you begin stitching and is particularly useful if you are stitching in a confetti heavy area as it reduces the bulk on the back that can otherwise build up if anchoring numerous starts with multiple color-changes in the traditional way.
Benefits of Loop Start
- Very secure, no rogue tails to pull through
- Helps keep the back of your work neater and less bulky
- Useful for those confetti stitches of a single color
- Can be done from either the front or the back so you can avoid having to flip your work over
- Especially useful when using metallic threads as these tend to slip a lot more than regular thread
The only limitation is that the loop method can only be used if you are stitching with an even number of strands of floss.
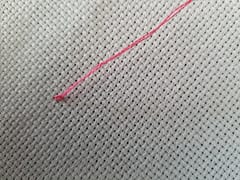
Step 1
If you are working with two strands of floss, separate one strand from the skein but cut double the length you would normally use. So if you typically begin stitching with a length of floss around 18 inches long you would separate one strand at around 36 inches. Then fold this length of floss in half
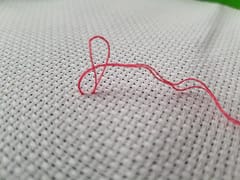
Step 2
Thread your needle with the two ends arranged together so that you end up with a loop at the end of your floss.

Step 3
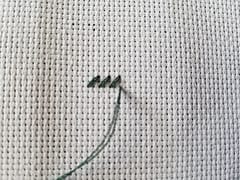
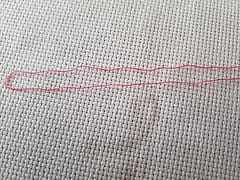
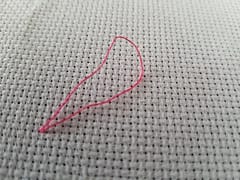
Bring your needle up from the back and begin to form the first arm of your stitch in the normal way, pull the thread through but not all the way leaving a loop at the back
Rearview
Step 4
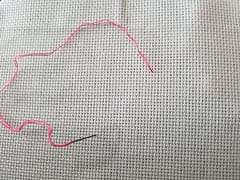
Take your needle back down to the back to complete the first arm of your stitch but do not pull it all the way through just yet. Thread your needle through the loop on the back before you pull the stitch tight so the loop is flat against the back of your fabric
Pull the stitch tight, take your needle back to the front and complete the second arm of your stitch in the normal way (Rear view)
There you have it - quite easy to do and a very neat and flat finish on both the front and back of your piece.
Follow us on our Thread-Bare Stitching Facebook Page or Thread-Bare Stitching Pinterest Channel for news and notification of future articles. Also checkout our Thread-Bare Flosstube Channel