Basic Cross Stitching Technique Tutorial
How to begin cross-stitching
Contents
Introduction
Let’s get stitching !! Here we will review the basic stitching techniques to get started with your cross stitching projects …
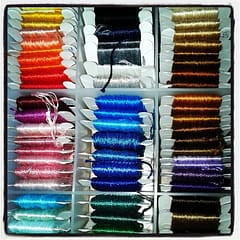
When following a pattern each colour will be represented by a unique symbol. Kits will often already have the threads organized. If you have kitted up your own project you will find it easier to use a system to organize your threads, either by attaching them to cards with the floss number and symbols marked or winding the thread onto bobbins again noting the number and symbol on the bobbin
Floss organized on bobbins
To start find the center of your fabric by folding it in half in both directions, I like to mark the center with a piece of floss at this point. You would then also find the center of your chart, most charts have arrows in the margins marking the halfway point, follow the line from arrows into the chart and the center is where the two lines intersect. Use a highlighter to mark this spot.
Fit your fabric into your hoop or snap frame, find the colour matching the symbol for the center point and you are ready to start your first stitches !
Forming Your Basic Cross Stitch
Thread your needle but do not tie a knot in the end
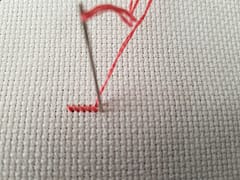
To start bring your needle up through the fabric from behind
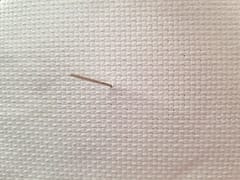
(Rear view) Pull the thread nearly all the way through and place your finger over the tail on the back and hold it there
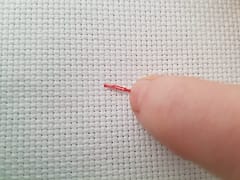
Push needle back down through the hole on the other side of the square to form a diagonal stitch (while still holding the thread from behind)
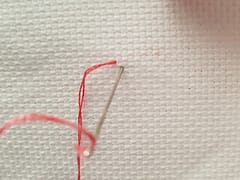
Come back up from behind through the top right of the square - at this point your thread behind should be anchored and so you should be able to let go of it, as you work the tail should end up covered in stitches
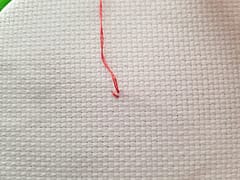
(Rear view) Tail should be anchored under stitch on the back
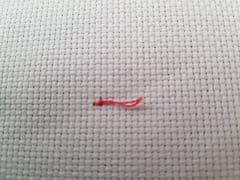
Go back down through the bottom left hole to finish forming your X
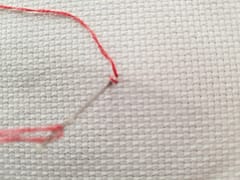
Completed stitch
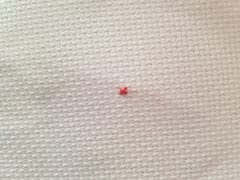
It doesn’t matter which direction your stitches lie as long as you keep it consistent and always have the top arm of your stitch going in the same direction
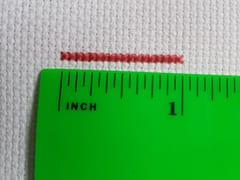
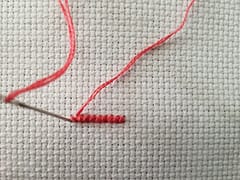
If you have a large section of your design that is the same colour you can form each X individually (English method) or you can stitch a row of \\\\\\\ stitches and then come back over the top with your //////////////// stitches (Danish method)
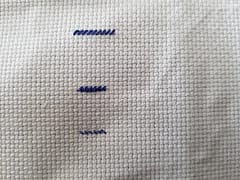
Other Stitches commonly used are the half stitch (tent stitch), ¾ stitch and ¼ stitch, examples are shown below.
To finish off a colour and secure your stitches, run your needle under a few of the completed stitches on the backside a couple of times before you cut the thread, be careful not to push through to the front while doing this.
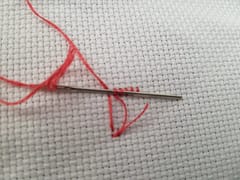
If your thread starts to twist while stitching drop the needle while it is still attached to the thread and let it hang and your thread should untwist, or you can run the needle up and down along the length of the thread and it should also untwist.
As you work try to keep the tension in your stitches consistent, using a hoop or frame will help with this. Consistently formed stitches are key to having a nice, neat finished project.
There are no hard and fast rules with stitching other than you should enjoy it! So experiment and find what works best for you, if you are finding something difficult or a strain maybe rethink the type of fabric you are using or the complexity of your design. Also ignore those people that insist the back of your work should be as neat as the front ! Unless there are giant lumps and knots that will show through it really doesn’t matter as it will be covered up when framed. This can be quite the controversial topic on cross stitching forums !
In a future article I will discuss more advanced techniques such as loop starts, pin stitches, waste knots and rail-roading stitches as well as the various techniques for tent stitching.
Never miss an article. Like and follow us on Facebook ThreadBareStitching and Pinterest

