Stitching on Perforated Paper
The Flexible Alternative to Aida
Contents
Introduction
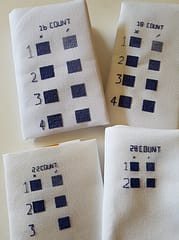
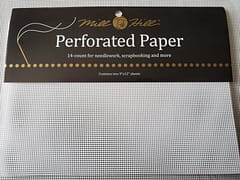
Perforated paper is a heavy weight, stiff paper that has been punched into an even grid suitable for stitching. It’s a nice alternative to aida, especially for stitching smaller ornaments or bookmarks that you want a more rigid finish to.
Right and Wrong Side
Some perforated paper does have a right and wrong side, I couldn’t really tell the difference with the Mill Hill brand that I bought, other brands maybe more obvious though. In general feel and compare the surface on each side, the side with raised edges that is rougher around the punched hole is the wrong side and so should become the back-side of your stitching.
Perforated paper cannot be bent without damaging it so putting it into a hoop or q-snap is not a great idea so you will more likely be stitching in hand especially with a smaller design. You could in theory put it in a hoop or snap frame but would need a much larger boarder that would need to be trimmed so it could end up being more wasteful.
Stitching
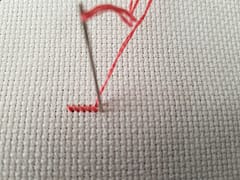
When using perforated paper you want to keep the back surface as flat and lump free as possible. As with any cross-stitching there should be no knots on the reverse side. A useful technique to avoid bulk is to use the loop start method.
When stitching you need to be very aware of how tight you pull your stitches through the paper, if you pull too tight the paper could rip and if the tear is severe there is not much you can do about it except restart. If it is just a small tear you could try to tape the back of the paper to secure it and then punch through the tape. Paper is much less forgiving than fabric so doing a few test stitches will help to gauge the tension you need for the materials before you start.
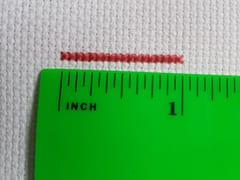
It is important to use the correct size needle and right amount of strands. Use a needle that is smaller than the hole size, as there is not the flexibility you have when using fabric. The thread needs to flow through the paper without tugging or pulling on the paper.
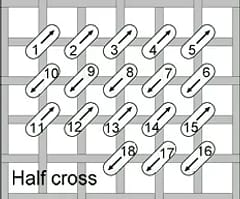
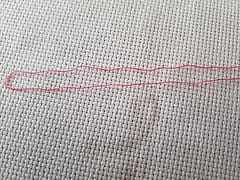
When backstiching try to avoid going over just one thread hole, make your stitches longer to avoid putting too much stress on one area. Also be consistent in stitching and plan ahead, try to avoid criss-crossing around the paper. This will help reduce bulkiness and avoid additional tension on the back.
Unlike fabric it is not really possible to clean your project after stitching, after all it is paper so you cannot wet it. It is best to be extra careful while stitching to avoid spills and stains, also washing your hands before stitching.
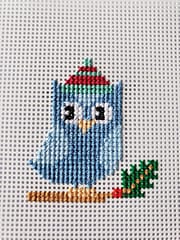
Try to stitch in order, on paper I found it harder to count the stitches as it made me cross-eyed looking at it so plan your stitching in a logical manner rather than jumping around the design.
Finishing and Backing
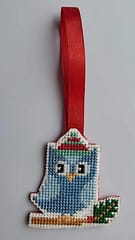
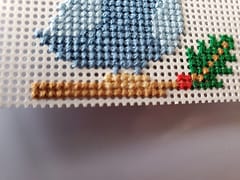
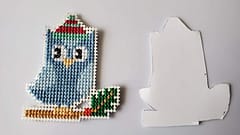
Once your stitched design is finished, trim around it as close as possible to the stitching without going into a square that contains stitching.

Trace around the design onto card and cut out a backing and then glue (I used Elmer’s glue all crafting glue). Don’t overload it with glue as you don’t want it to soak through to the front.
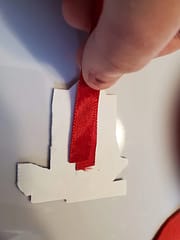
Cut a piece of ribbon for the hanger and glue to the backing cardboard
Then add a piece of felt to the backing to cover the ribbon, glue and trim.
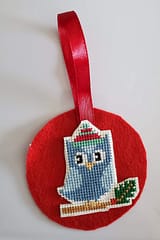
Hopefully you found this a helpful guide to stitching on perforated paper, it is a great alternative to fabric for those smaller projects that you don’t necessarily want to frame.
Be sure to like and follow us on our Thread-Bare Stitching Facebook Page or check out our links page for a full list of all of our social media channels and services Thread-Bare Links