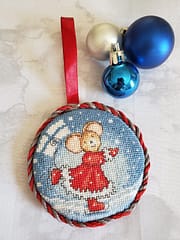
Creating a Stitched Christmas Ornament
Framed in a ribbon-wrapped hoop
Contents
Introduction
This the first installment in our planned series of stitched Christmas tree ornaments. We intend to feature a number of different finishing techniques to show you how to make a variety of ornaments. These are Christmas items but the finishing techniques can applied other projects as well.
[
Items needed:
- Stitched design
- Wooden embroidery hoop
- Decorative ribbon (9/8 of inch width)
- Felt backing material
- Craft glue
- Clips
- Toothpicks
- Needle & floss for finishing

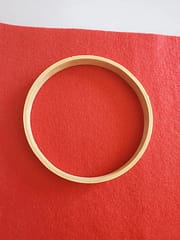
Wrapping the Hoop
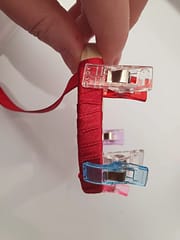
Remove the screw from the hoop. Place a small drop of glue on the inside of the hoop using a toothpick and press the ribbon against it. Ensure the the shiny side of the ribbon is facing outward!
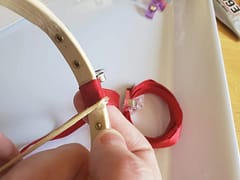
Begin wrapping the ribbon around the hoop keeping it nice and tight, use the clips to secure the ribbon is place while the glue drys.
Continue wrapping the ribbon all the way around the hoop while gluing the wood on the inside of the hoop as you go, don’t use too much glue otherwise it will soak through the ribbon, place clips to hold as you go.
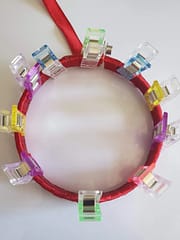
Leave the clips on the hoop and let the glue dry completely.
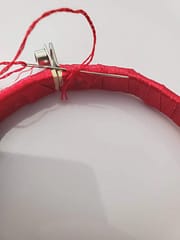
Once the glue has dried remove the clips, place a drop of glue on the inside of the hoop on the ribbon and press the end of the ribbon down onto the glue, leave a clip on for a while to allow the glue to dry, trim off the excess ribbon and sew a couple of stitches to hold the end down
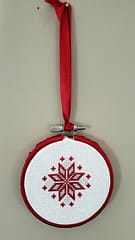
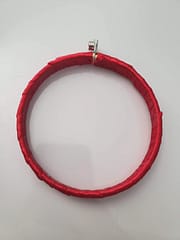
And there is your wrapped hoop !
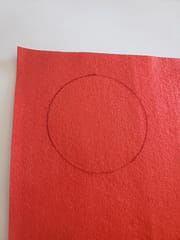
Framing in the Hoop
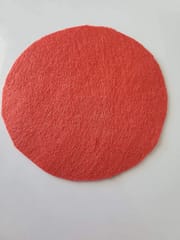
Place the inner hoop onto the felt and trace around the outside of the hoop, carefully cut out the circle
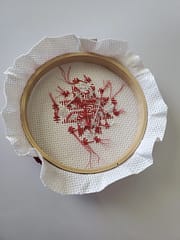
Put your stitched piece into the hoop and tighten
Trim the excess fabric around the hoop in a circle, leaving a margin of about 1/2 inch -( yeah yeah my back is messy !) As this was a small hoop I kept the margin very small to avoid bulk on the back, if you were using a larger hoop you wouldn’t need to trim it so much
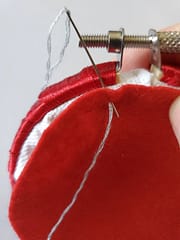
Take a piece of floss and start a long running stitching around the circle of the excess fabric until you get back to the start
Once you get back to the start, take off the needle and then gently pull the two ends of the floss. This will act as a drawstring and pull the fabric into the circle, puckering inward until it is flat, I then laced across from each side to add at bit more security and help the fabric lie flat. Then tie a double knot to secure.

Attaching the Backing Felt
To attach the felt to the back I used a blanket stitch.
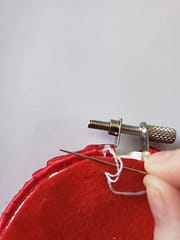
Blanket stitch always comes from the same direction, in this case from the back. Tie a knot in the floss and thread it through the felt from behind
As you pull the thread through loop the needle through before pulling the thread tight
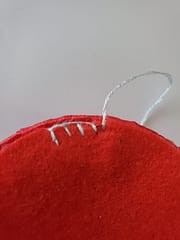
Work your way around the hoop using blanket stitch.
I used a contrasting color in order to take the photos above but then switched to a red so that the stitches blended in more (I’m not great at blanket stitching !)
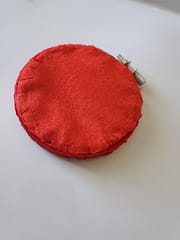
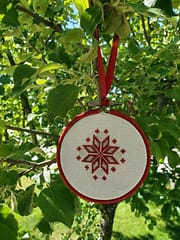
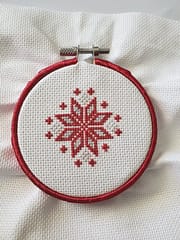
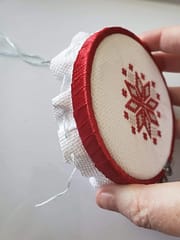
Add a loop of ribbon to the screw to allow the ornament to hang.
And you’re done !
This is a helpful video showing the blanket stitch technique
Be sure to like and follow us on our Thread-Bare Stitching Facebook Page or check out our links page for a full list of all of our social media channels and services Thread-Bare Links