Washing & Ironing Your Finished Cross Stitch Project
It's scary, but it has to be done
Contents
Introduction
Congratulations! You have finally finished your pretty cross stitch project, but all those hours of handling the fabric and stitching have left their mark. No matter how careful you are the fabric will inevitability become a bit grubby and marked due to the natural oils in your skin and just being handled for that length of time and if you use a hoop or snap frame you will have some pretty obvious creases
The thought of washing a project that you have invested hundreds or possibly thousands of hours of work in can be daunting: What if the colours run? What if the iron ruins the stitches? What if it shrinks?
I will give you some tips on how to wash and iron your finished pieces …
The first thing is to try and reduce the buildup of dirt in the first place.
- Always wash your hands before stitching
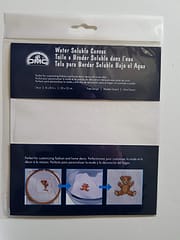
- Use a grime guard, these are lengths of elasticated fabric that you can tuck the excess fabric into to keep it out of the way and clean
- Avoid eating and drinking around your stitching
- Never allow a serious stain to set in as it will be harder to get out later, the older a stain the harder it will be to get out and if you iron a stain it will be even worse
If disaster strikes and you spill something on your stitching such as coffee or wine etc DMC provides some useful guidelines for dealing with specific stains here
Washing
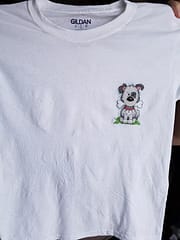
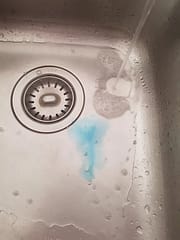
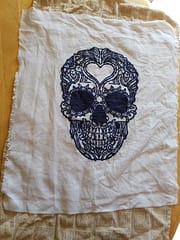
So here is my finished project with hoop lines and general griminess !
I don’t even know what that stain is! Probably definitely not wine ;)

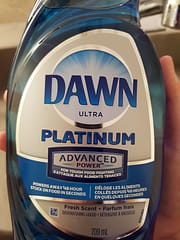
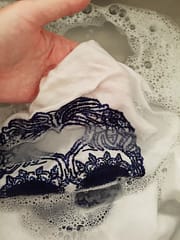
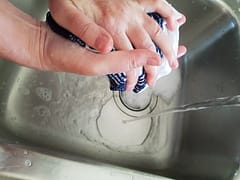
The best way to wash a piece is by hand, separately in lukewarm water. I use a mild dish soap such as Dawn
Small amount of soap in a clean sink with lukewarm water, you don’t want it too soapy
Do NOT use harsh detergents or biological powders and definitely nothing containing bleach as these could remove the colour from threads which would be disastrous.
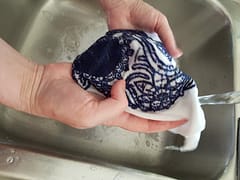
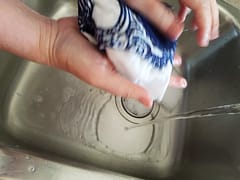
Soak the piece and swish around in the water, gently rubbing any obvious marks
If you have any stubborn stains you can rub very gently with a soft toothbrush and allow to soak for 10 minutes
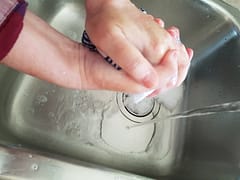
Once you are happy, run the piece under the tap to rinse out all the soap but watch the temperature. It is important to get all the soap out of the piece.
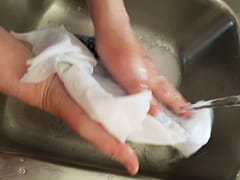
When you are happy that all the soap is out, squeeze the water out of the piece. NEVER wring the fabric as this could distort the stitching and material.
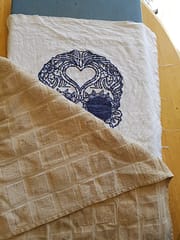
Roll your piece in a towel to remove excess water

Press down on piece so the towel can absorb excess water
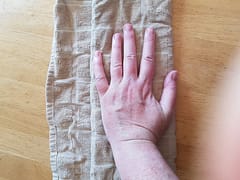
Lay your piece out flat and leave to dry on a towel
Ironing
It is best to iron your project while it is still slightly damp.
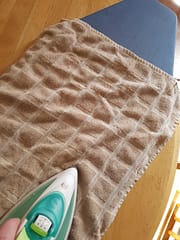
Place the stitching on an ironing board and place a clean towel over it.
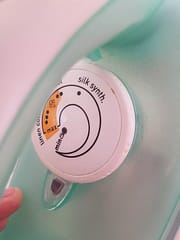
Heat the iron on the low heat setting (such as for silk). I normally keep any steam setting off but it won’t harm it to be on
Keep the iron moving and do not leave it in one area too long - you may need to go over it a few times.
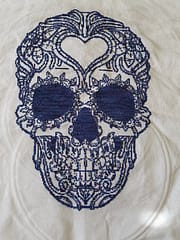
Finished, clean and ready to frame!
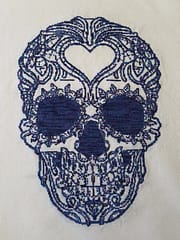
Note the blue tiny areas around the jawline that looks like the color has run is actually the ends of threads showing through before they have been trimmed.
It isn’t that scary really and a washed and ironed piece will look a lot better in the frame to show it off and the piece should age better.
Follow our us on our Thread-Bare Stitching Facebook Page or Thread-Bare Stitching Pinterest Channel for news and future articles