Stitching onto a Garment using Water Soluble Canvas
How does it compare to waste-canvas?
Contents
Introduction
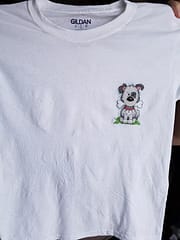
In a previous post we wrote about stitching onto clothing using waste canvas. Here we are again going to stitch onto a t-shirt but using water soluble canvas instead and will compare the results and stitching experience.
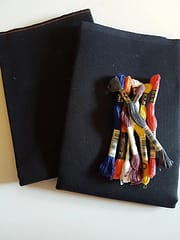
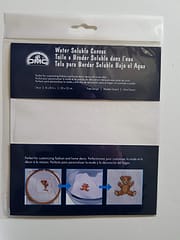
DMC’s water soluble canvas comes in pre-cut sheets measuring 8 x 8.5 inches. It feels like a thin flexible plastic canvas unlike waste canvas which is more like a regular loosely woven aida fabric. Water soluble canvas is the equivalent of 14 count fabric.

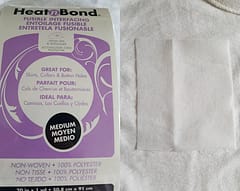
I originally started stitching this after just tacking the canvas onto the t-shirt but the stitches immediately became distorted so for stitching on to a thin light fabric such as a cotton t-shirt you should use some iron on interfacing to stabilize and support the material.
Interfacing is placed on the back of the fabric behind the area that you are going to stitch on. I used a medium weight interfacing for this fabric
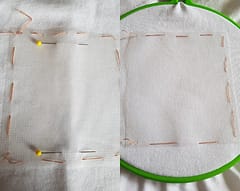
Once you have attached your interfacing, cut out a piece of the canvas slightly bigger than your design and pin it to the t-shirt, ensuring it is completely straight. Then tack the canvas to the fabric using long stitching that can be easily removed later.
Place in a stitching hoop ensuring that the fabric is straight and there is not puckering or stretching.
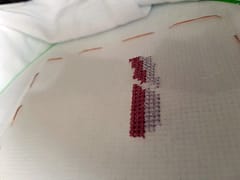
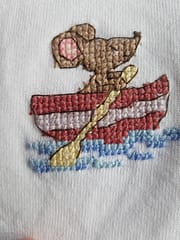
Begin stitching your design !
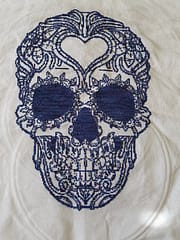
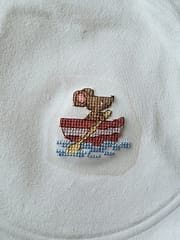
Once you’re finished stitching, cut off the excess canvas around the design
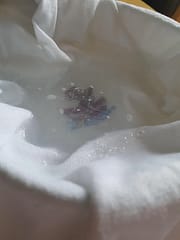
Submerge the stitched area in a bowl of warm, soapy water (I used Dawn dish soap) and leave for 10 minutes. You will be able to feel the canvas begin to dissolve, feels slimy! After about 10 minutes you will only feel the fabric once all the canvas has dissolved.
Once the canvas has fully dissolved, rinse the soap out of the fabric and allow to dry.
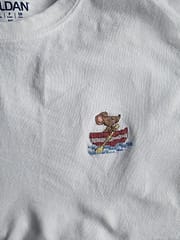
If the stitched area is going to worn against skin I would suggest adding another piece of iron-on interfacing over the back of the stitches to avoid irritation and rubbing while it is being worn.
Comparison to Waste Canvas
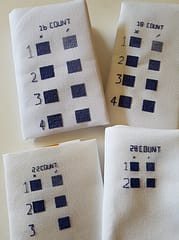
With the soluble canvas the squares are easier to identify than with waste canvas. Although as I was stitching on a white fabric they were sometimes hard to see against light fabric as it blends in, I found having good light and slightly tilting my hoop allowed me to see the shine on the canvas face. I also found dragging needle to feel squares helped.
The water soluble canvas was a lot less hassle to finish than waste canvas as you didn’t have the tedious step of removing all the individual strands of fabric.
The waste canvas did not require interfacing as it seemed to support the fabric better.
Overall both waste and water soluble canvas work well, although the water soluble canvas is more expensive than waste canvas but likely worth it to avoid the time consuming step of pulling out the strands of thread.
Be sure to like and follow us on our Thread-Bare Stitching Facebook Page or check out our links page for a full list of all of our social media channels and services Thread-Bare Links